
Appulate’s Policy interface becomes available when a policy is bound. Once bound, policies are available via the Policies menu.
You can view all policies (All Policies) or a specific category (In Force, Terminated Policies, To Renew). To access a particular policy, click its name in the list. You will be redirected to the Policy interface.
We’re introducing some changes to our Policy interface. When a policy is bound, you will be redirected to the Policy tab. The Policy tab represents the merged Options and Policy Docs tabs.
The Policy tab contains basic information about a policy, as well as policy documents and actions you can perform upon them. It consists of the following sections:
- Policy;
- My company;
- Auto-renewal;
- Actions;
- Policy docs;
- Policy details.
All valid information you enter will be autosaved. If some information you’ve entered is invalid, you’ll see a message indicating any errors. However, this won’t prevent you from switching to another tab of the Policy interface.
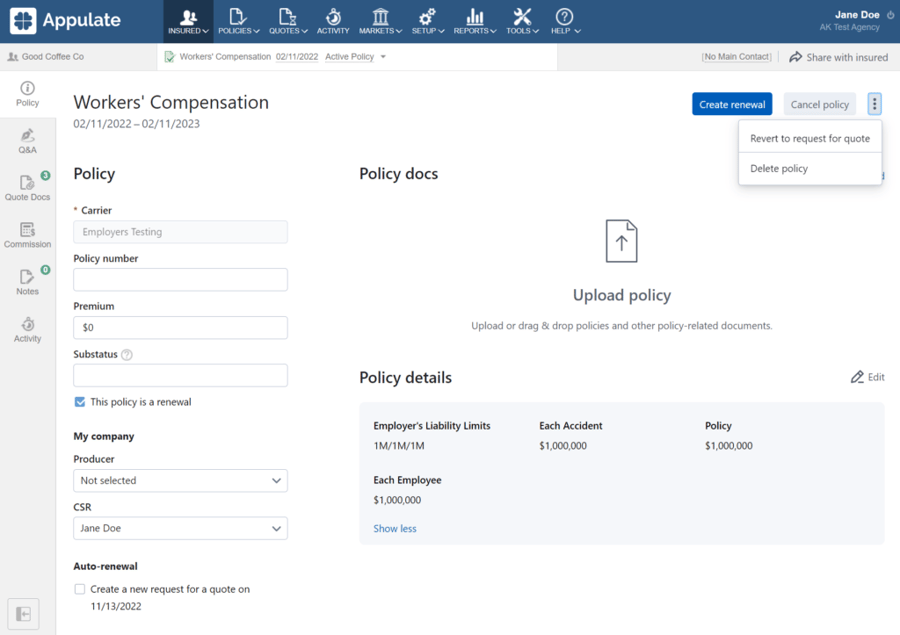
Policy
The Policy section includes the following fields:
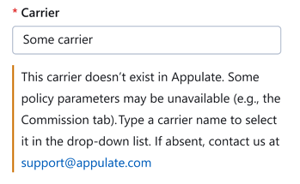
- Carrier: The name of the carrier that issued this policy. This is a required field for all policies. For policies with a bound market, this field is read-only (greyed out).
This field gets filled out automatically when you click Request to bind on the RFQ interface. You can also fill this field out manually. When entering data, the field displays a dropdown list with autofill options. If a carrier you’ve entered doesn’t exist in Appulate, you’ll see the following message:
- Policy number: The policy’s number.
- Premium: The policy’s premium. Its value is synchronized with the value entered in the Premium field on this policy’s Commission tab.
- Substatus: Detalization of the policy’s status. It’s used for tracking progress with this record.
You can enter a custom substatus in the text field or select a default one from the dropdown list (Additional Info Requested, Assigned, Information Received, Ready to Underwrite, Submitted). The Substatus field allows up to 300 characters. The substatus will only be available to your company’s users. It doesn’t influence the record status.
- This policy is a renewal: A checkbox that indicates whether this policy is a renewal of an existing policy (if selected) or not.
My company
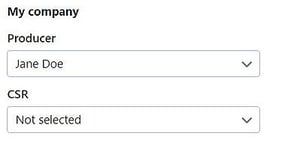
This section contains the following fields:
- Producer (or Underwriter): The company’s Producer or Underwriter user who has been assigned to this policy.
- CSR: The company’s CSR user who has been assigned to this policy.
The Underwriter and CSR fields are synchronized with the Assigned Underwriter & CSR setting on the Agency Info tab. Whenever a new Underwriter and CSR is assigned on this tab (either manually or automatically), a record update notification is sent to the submitting company.
Auto-renewal
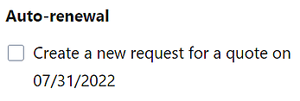
The Auto-renewal checkbox allows you to automatically renew an expiring policy. If selected, a new RFQ with the same parameters will be created on the specified date. The date will be updated if you change the Effective Date on the Policy interface.
This setting is applicable only to policies with the Active Policy or Expired Policy status. It’s only available if the Auto-renewal setting has been selected on the Settings page.
Actions
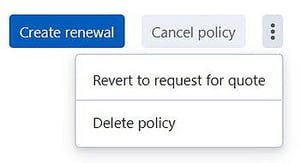
This section contains the following buttons:
- Create renewal: Allows you to manually renew an expiring policy.
- Cancel policy: Allows you to cancel this policy. A policy can be canceled by both the company that created it (agency or MGA) and the company that received it (market).
- More actions (kebab-menu button): Opens a dropdown list with additional actions: Revert to request for quote and Delete policy. If there’s only one additional action available, it will be shown separately. There’ll be no menu available.
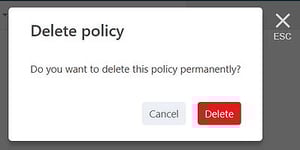
If you click Delete policy, you’ll see a confirmation dialog:
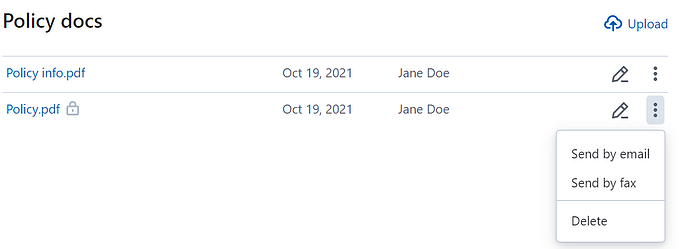
Policy docs
The Policy docs section contains uploaded policy documents. For some markets, this section can also contain documents generated during policy binding, as well as policy forms bound to this market and insurance line.
You can upload a document by:
- clicking Upload at the top of the section;
- dragging a document from your files and dropping it onto the section.
Each document is displayed with:
- its name. Clicking it downloads the document. The lock icon
 near a document’s name indicates that it is only visible to the users of your company;
 - the date on which it was uploaded or generated. For policy forms, this isn’t shown;
- the name of the person who uploaded or generated it. For policy forms, this isn’t shown;
- a set of available actions.
The following actions are available:
- Clicking the Edit icon
 opens the Document Markup dialog. There, you can change the document’s name and visibility, as well as add notes.
 - Clicking the kebab-menu icon
 opens the More actions menu. There, you can opt for sending the document by email or fax, or deleting it altogether.
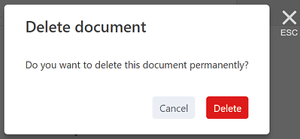
If you click Delete in a document’s More actions menu, you will see a confirmation dialog:
You cannot edit or delete generated policy documents. You can edit and email policy forms, but you cannot delete them.
Policy details
The Policy details section displays the policy’s coverages, limits, deductibles, and other related information. It is visible to all companies associated with this policy if:
- the carrier is in Appulate’s database;
- the carrier has the necessary configurations.
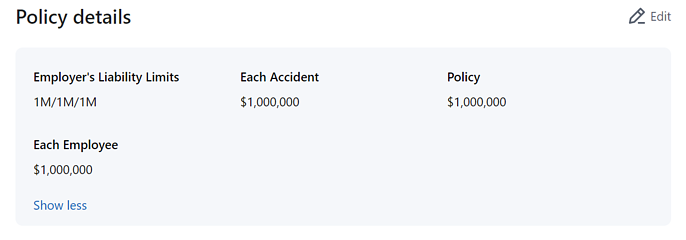
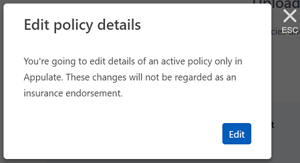
If you want to make some changes, click Edit at the section’s top-right corner. If the policy is available in a read-only mode, the Edit button will be hidden. For now, the Edit button is also hidden for viewers.
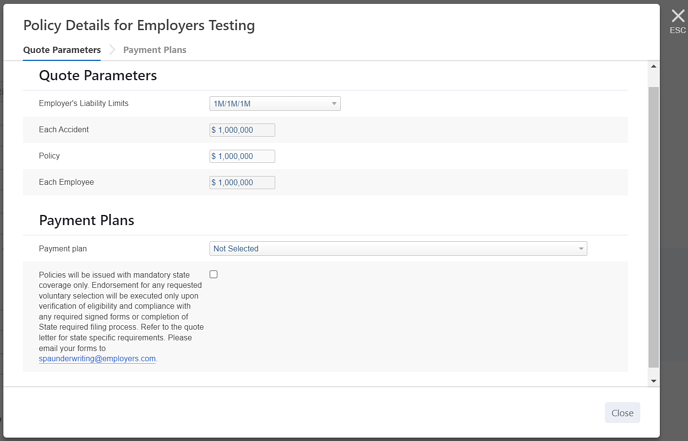
A dialog will appear informing you that the changes will only apply in Appulate. Click Edit to proceed.
This will open the Policy details dialog. Any changes you make there will be saved automatically.
If the policy has no details (e.g. if you create it as a renewal), the section will display an empty state. You can fill in the details by clicking Edit.
